I remember the day I first made my own sourdough starter Recipe. It was a journey of excitement, patience, and joy. Watching it turn into the base for many loaves of sourdough bread was amazing. If you want to bake with your own sourdough starter, this guide is perfect for you.


Making a sourdough starter from scratch might seem hard. But with the right steps and time, you can discover new flavors and textures. This recipe is for both experienced bakers and newcomers. It will help you create your own wild yeast culture for your sourdough bread baking journey.
Key Takeaways
- Homemade sourdough starter Recipe takes about 7 days to make and gives you about 1 cup of active starter.
- The starter needs daily feeding of flour and water, following a specific ratio and schedule for best results.
- Temperature is key, with warmer places (around 75°F) helping it ferment faster.
- Checking the starter’s growth and doing a float test are crucial to know when it’s ready for baking.
- Keeping the sourdough starter well-maintained and stored properly is vital to keep it active and strong for future use.
What is a Sourdough Starter?
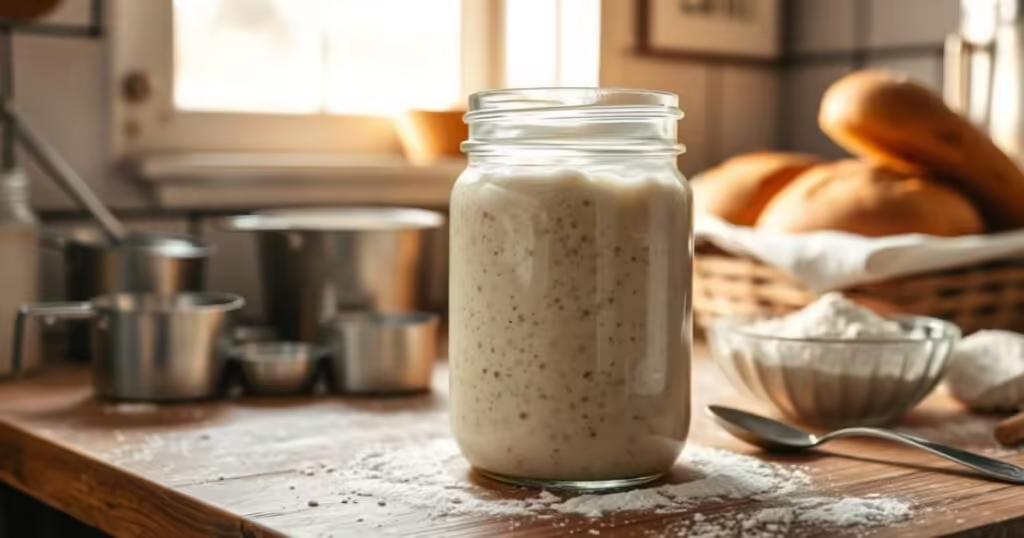
A sourdough starter is a mix of fresh flour and water that’s alive. It grows the natural yeasts from the air. This mix makes bread rise without commercial yeast.
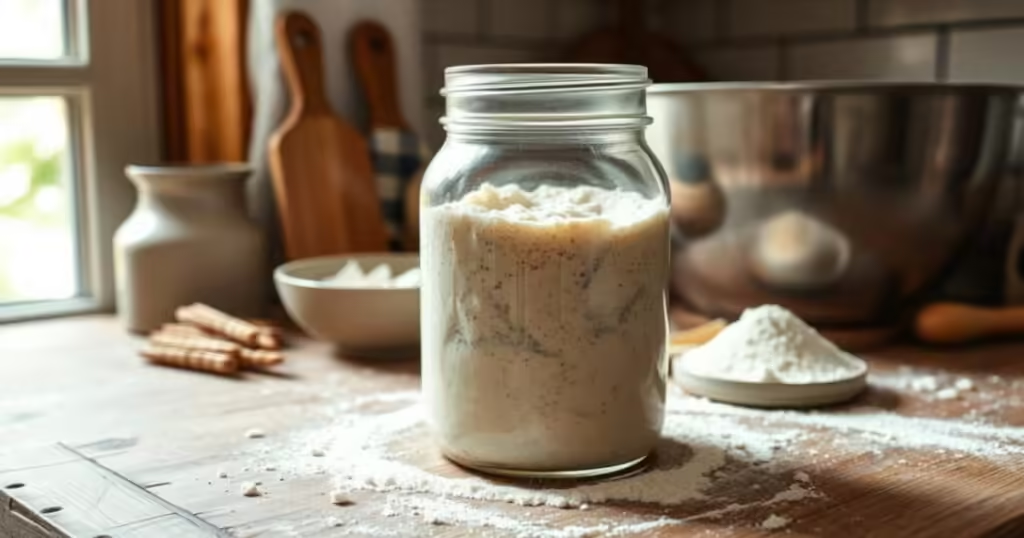
The starter needs regular care with fresh flour and water. As it grows, it smells tangy and feels bubbly. This shows the starter is full of life.
“Sourdough is more than just a recipe; it’s an understanding.”
Using natural leavening, bakers can make amazing breads. The sourdough starter Recipe is key to this tradition. It makes sure every loaf rises well.


Why Make Your Own Sourdough Starter?
During the pandemic, many found it hard to get commercial yeast. This led to a surge in homemade sourdough bread. Sourdough starters give a unique taste and texture that store-bought yeast can’t match. Plus, the natural fermentation makes the bread easier to digest for some.
Homemade sourdough bread has a special flavor that stands out. The fermentation process uses wild yeasts and bacteria, adding depth. This makes the bread a treat for those who love unique flavors.
The fermentation of sourdough can also make it easier to digest. It breaks down gluten and produces lactic acid. This can be a healthier option for those with gluten issues.
“Sourdough bread is like an heirloom tomato – it offers unique flavors and characteristics that you just can’t find in commercially produced bread.”
Creating your own sourdough starter lets you bake healthy, tasty homemade sourdough bread. It might take time and patience, but the fresh, naturally fermented bread is worth it.


Supplies and Ingredients Needed
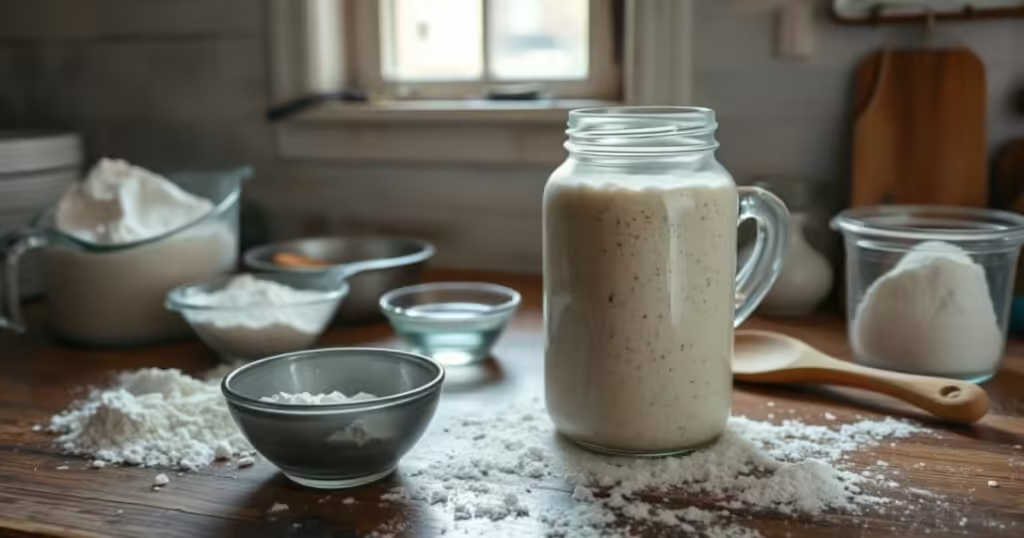
To make a sourdough starter at home, you need a few basic things. You’ll need a wide-mouth jar, whole wheat flour, all-purpose or bread flour, and water. You also need a digital scale, a small rubber spatula, and an optional thermometer.
The wide-mouth jar lets the starter grow as it gets bigger and flours give the starter the nutrients it needs. The digital scale helps you measure accurately, the spatula mixes and feeds the starter, and the thermometer checks the temperature.
- Wide-mouth jar (at least 1-quart capacity)
- Whole wheat flour
- All-purpose or bread flour
- Filtered or tap water
- Digital kitchen scale
- Small rubber spatula
- Thermometer (optional)
With these simple sourdough starter supplies, sourdough ingredients, and baking tools, you’re ready to make a homemade sourdough starter. This starter will help you bake delicious, flavorful bread.
Day 1: Creating the Sourdough Starter Recipe
Making a sourdough starter from scratch is a rewarding journey. On day one, you mix whole wheat flour and water. This mix starts the fermentation process, letting flour’s natural yeasts grow.
To start, you’ll need:
- 60g (1/2 cup) whole wheat flour
- 60g (1/4 cup) water
- A clean, non-reactive jar or container
Mix the flour and water in your chosen jar. Use a spoon or spatula to make a thick, smooth batter. Cover the jar loosely and keep it in a warm spot, around 75°F (24°C).
For the next 24 hours, the flour’s yeasts and bacteria will feed on sugars. This is the first step in creating the sourdough starter for your homemade bread.
“Patience and diligence are key when creating a sourdough starter from scratch. Trust the process, and you’ll be rewarded with a flavorful, personalized starter that will serve you well in all your sourdough baking adventures.”
Day 2: Checking for Activity
On the second day, it’s time to see if your sourdough starter is active. You might not see much at first, but don’t worry. The fermentation process is starting.
Look into your starter’s jar and you might see small bubbles on the surface. These bubbles show that the yeast is working and eating the flour and water. If you don’t see bubbles right away, they might have formed and then disappeared overnight.
Now, just let your starter rest in the warm spot for another 24 hours. By day 3, you’ll likely see more signs of sourdough starter Recipe activity.
Remember, the sourdough starter day 2 is about patience and watching. Trust the process, and you’ll soon have a lively, bubbly starter.
Days 3-5: Feeding the Sourdough Starter
Starting day 3, you’ll dive into the rhythm of feeding your sourdough starter. This process of discarding and replenishing keeps it alive and growing.
Discard and Feed
When you feed your starter, you’ll throw away some of it. This step prevents too much acidity and encourages new yeast and bacteria to grow. You should discard about half of the starter.
After discarding, mix in 60g (1/2 cup) of flour and 60g (1/4 cup) of water. Do this once or twice a day. This will help your starter grow and double in size.
“Feeding your sourdough starter every 12 hours until it becomes well established and bubbly.”
Achieving an Active Starter
By days 5 or 6, your starter should be more active. You’ll see it rise and bubble after each feeding. This means your starter is ready for baking.
The path to an active starter can vary. It depends on temperature, flour, and how often you feed it. Be patient and keep up with the routine. Soon, you’ll have a lively starter that will make your baked goods special.
Day 6: Testing for Readiness
By day 6, your sourdough starter should be lively, full of bubbles, and grow in size after each feeding. It’s time to check if it’s ready for baking with the float test.
The Float Test
Drop a teaspoon of your sourdough starter into a glass of water. If it floats, it’s ready for baking. But if it sinks, it needs more time. Keep feeding it until it passes the float test.
Experts say a sourdough starter is ready for baking after at least 14 days. Baking with an immature starter can lead to dense bread. A mature starter doubles in size in 4-6 hours after feeding.
Getting your sourdough starter ready can take up to 4-6 weeks. Be patient to get a healthy, strong starter. When it’s ready, you’ll get light, airy bread with a great texture.
“A fully developed sourdough starter may take 3-4 months to mature. Putting an immature starter in the fridge can delay its development.”
The perfect sourdough starter is like warm peanut butter or thick pancake batter. Feed it 4-6 hours before baking and make sure it doubles in size. This will give you the best homemade sourdough bread.
Maintaining Your Sourdough Starter
Keeping your sourdough starter healthy is key to baking great bread. You need to feed it regularly. How often depends on how much you bake, but usually, every 12-24 hours at room temperature. If it’s in the fridge, feed it once a week.
Storing it in the fridge can keep it alive for up to two months without feeding. To wake it up, mix in equal parts flour and water. Let it sit at room temperature for 12 hours. Then, repeat this process 2-3 times every 12 hours until it’s bubbly again.
If you bake less often, you can keep your starter in the fridge. But, make sure to feed it when you take it out. Keep its consistency thick, like pancake batter, by using equal parts flour and water.
- Sourdough starters are resilient, and precise measurements are not always necessary for maintaining a healthy starter.
- Optimal feeding times can range from 4-12 hours, depending on the recipe you’re using.
- Adjusting the water content may be needed based on the type of flour used to achieve the desired consistency.
- Discarding half of the starter during the initial days is essential, as it helps the starter mature and ferment properly.
By sticking to a regular sourdough starter maintenance routine and feeding schedule, your starter care will stay strong. This way, you’ll always be ready to bake delicious sourdough bread.
“Maintaining a sourdough starter is like caring for a pet – it requires regular attention and nurturing to keep it healthy and happy.”
Sourdough Starter Recipe
Making a homemade sourdough starter is a fun journey into natural yeast baking. This recipe guides you through creating your own lively starter. You’ll need just whole wheat flour, all-purpose flour, and water.
Start by mixing 60g (1/2 cup) whole wheat flour with 60g (1/4 cup) water in a clean jar on day one. Cover it and let it sit in a warm place for 24 hours.
- Days 2-5, toss half of the starter and add 60g (1/2 cup) all-purpose or bread flour and 60g (1/4 cup) water. Do this once or twice a day. Keep feeding until it doubles in size after each feeding.
- On day 6, do the float test. Drop a spoonful of starter into water. If it floats, it’s ready. If not, keep feeding until it does.
- Once your starter is ready, keep it alive by feeding it weekly. Or store it in the fridge, refreshing it before baking.
With a little patience and care, your sourdough starter will be a trusted helper for your baking. It will add a special flavor and texture to your breads, pizzas, and more!
| Ingredient | Day 1 | Day 2-5 |
|---|---|---|
| Whole Wheat Flour | 60g (1/2 cup) | – |
| All-Purpose/Bread Flour | – | 60g (1/2 cup) |
| Water | 60g (1/4 cup) | 60g (1/4 cup) |
Troubleshooting Tips
Keeping your sourdough starter healthy is a delicate task. But with a few tips, you can keep it active and ready for baking. Whether it’s slow or has changed consistency, these strategies can help.
Maintain the Ideal Temperature
The best temperature for your starter to rise is 75-85 degrees Fahrenheit. If it’s slow, try a warmer spot like near a preheated oven. This can help it ferment better and stay active.
Adjust Your Feeding Routine
Feeding your starter regularly is crucial. Use the same flour every time. If it’s slow, try feeding it more often or change the flour-to-water ratio. Start with a 1:5:5 ratio by weight.
Revive a Neglected Starter
Don’t worry if your starter has been ignored. It can be revived with care. Use white flour, whole-grain rye flour, water, and a bit of ripe starter for a week. This can reactivate the yeast and bacteria.
| Common Sourdough Starter Issues | Troubleshooting Solutions |
|---|---|
| Sluggish or inactive starter | Increase feeding frequency, adjust flour-to-water ratio, or try a warmer environment |
| Inconsistent rise times | Maintain a consistent feeding schedule and use the same type of flour |
| Sour or alcoholic aroma | Discard and feed the starter more frequently, or try a higher flour-to-water ratio |
| Mold or discoloration | Discard the affected portion and restart the starter with fresh flour and water |
Every sourdough starter is different. It might take some trial and error to find what works for you. By tackling common problems and keeping a regular feeding schedule, you can keep your starter healthy and ready for baking.
This recipe is a trending recipe. To discover more trending recipes, check out our dedicated section on various trending recipes.
Conclusion
Starting your journey in sourdough baking at home is a fun and rewarding adventure. This guide will help you create your own lively sourdough starter. You can then use it to make tasty, homemade homemade bread with a special touch.
The natural process of sourdough baking gives bread a unique taste and texture. This is something you can’t get from store-bought natural leavening.
With a bit of patience and attention, you’ll soon see the results of your hard work. Sourdough starters are tough and can be passed down through many generations. They need just a little care to stay healthy and ready for baking.
Start enjoying the fun of sourdough baking and discover new ways to make amazing homemade bread with natural leavening. This journey will not only give you delicious bread but also a deeper love for baking.
FAQ
What is a sourdough starter?
A sourdough starter is a mix of fresh flour and water that has natural yeasts. It’s used to make bread instead of commercial yeast.
Why should I make my own sourdough starter?
Homemade sourdough bread tastes unique and complex. It’s also easier to digest for some people because of the natural fermentation.
What supplies and ingredients do I need to make a sourdough starter?
To make a sourdough starter, you need a jar, flour, water, and tools like a scale, spatula, and thermometer.
What happens on day 1 of creating the sourdough starter?
On day 1, mix whole wheat flour and water in a jar. Cover it and let it rest in a warm spot for 24 hours.
How do I know if the sourdough starter is active on day 2?
On day 2, look for small bubbles on the starter’s surface. If you don’t see bubbles right away, they might have appeared and gone overnight.
How do I feed the sourdough starter on days 3-5?
Starting on day 3, you’ll start feeding the starter. Discard half of it, then add fresh flour and water. Mix well and repeat this once or twice a day until it’s active and doubles in size.
How do I know when the sourdough starter is ready to use?
By day 6, the starter should be active and bubbly. It should double in size after each feeding. To check, do the float test: if a teaspoon of starter floats in water, it’s ready.
How do I maintain my sourdough starter Recipe?
Once your starter is established, keep it alive with regular feedings. Discard some starter and feed it with fresh flour and water daily, or once a day.
What is the sourdough starter recipe?
The recipe starts with 60g (1/2 cup) whole wheat flour and 60g (1/4 cup) water on day 1. Over the next days, discard some starter and feed it with 60g (1/2 cup) all-purpose flour and 60g (1/4 cup) water until it’s active.
What should I do if my sourdough starter Recipe is not behaving as expected?
If your starter isn’t acting right, check the temperature. Starters like warmth around 75°F. If it’s slow, add more whole wheat flour or use mineral water. Keep a regular feeding schedule to keep it strong.
